The folks over at PitmasterIQ have done it again. Their new IQ130 now incorporates Bluetooth Low Energy (BLE) boasting a range of over 700' (line of sight).
Over the past two years I've loved my IQ120; no other temperature controller I've found allows you to set a kind of 'recipe'. I literally set-it-and-forget-it. I set my pit temp at 225F to start, when the internal meat probe hits 140F I turn up the heat to 275F. Well, I should say the PitmasterIQ turns it up for me. When it hits my set temp, the PitmasterIQ drops my pit temp down to 150F (holding temp) until I come and get it. My only interaction with the cook from when I close the lid to when I open it again is the impatient walk to the window to see if we've hit internal 208F and I can pull my Boston Butt.
The IQ130 has all the same features as the IQ120, but now I can check (and adjust) my pit temp, monitor 2x meat probes and get alerted when the cook is done.
The IQ130 runs ~$280 with shipping to my house. Which is about a $70 premium over the IQ120. Both are very capable devices. I'm looking forward to testing the IQ130 on my next cook.
BBQ and other stuff
This blog started out as a build record but is turning into a personal accounting of my BBQ thoughts and experience.
Sunday, May 8, 2016
Tuesday, August 12, 2014
Been a whirlwind few weeks recently. I was behind on my new smoker build so had to kick it in high-gear before Festival in the Park.
First on the list was building the fire basket. I had removed the expanded metal floor from my trailer (to replace with tongue/groove treated wood) and salvaged it for the fire baskets. After cutting into useful sizes and grinding off the finger-slicing edges, I cut one of the pieces into the following shape. Rolling around an 18" metal grate, folding up the 'tabs' and adding some bolts and fender washers and I fashioned a respectable fire basket!
My drums turned out pretty nicely. Because they were food-grade barrels, they came with a red epoxy liner which, although probably benign, I decided to try and remove. I love my $15 investment in an angle grinder from Harbor Freight and a couple packs of cutoff wheels and grinding wheels. Without these I'd never have been able to pull off the metalwork. After grinding out the liner and adding some vents to the bottom with galvanized plumbing parts, I gave the barrel(s) a nice burn-out:
I had a few barrels to work with so I cut off the top/bottom 1/3 of the closed barrel I had, did the same grinding and capped my barrel during the subsequent 'smoke-in'. Before loading the fire basket a 2nd time with some nice hardwood, I wiped the inside of the barrels with crisco which allowed for a nice sooty lining to form:
I did the same work for the 2nd basket and 2nd barrel and then started the paint job. The barrels don't really get above 300° so high-temp paint wasn't really necessary but I used it anyhow. I wanted to be a little creative so I decided to do flames. they turned out pretty decent!
The week before competition I was busy finishing the barrels and doing test cooks. My family was subject to my almost daily cooking experiments. I discovered I'm surprisingly good at cooking chicken! However, my first attempt on the UDS had some wild fluctuations in temperature resulting in really dark chicken thighs. Despite their color, I learned about cooking time and they tasted phenomenal.
I decided to pull the trigger on an automated air control system. I purchased the PitmasterIQ 120. This comes with a control unit that has a built in fan with a hose that connects to one of my air inlets. There are also 2x probes; one for the pit and one for the meat. After a minor learning curve, the UDS was holding whatever temp I set. Added quite a bit to peace of mind.
The days before competition my confidence with my new smokers was growing and the meat was cooking up really nice but I was still missing a sauce. My Uncle Tate was well known for his BBQ and sauce and I was fortunate to inherit a recipe through my Aunt Boni. So I collected all the ingredients and carefully followed the directions. Unfortunately, I must have missed something serious because the result wasn't what I was expecting. Another attempt at BBQ sauce with fresh cooked tomatoes and current jelly from last year didn't produce stellar results either. In desperation on the last day I googled AllRecipes.com for a 5 star BBQ sauce and slightly modified that search result. The BBQ sauce I created was EXACTLY what I was hoping for and everyone has loved it. +1 google!
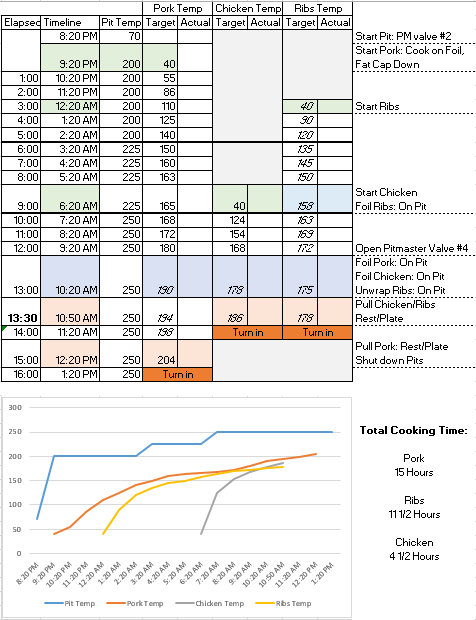
The night before the competition I had my time/temp script spreadsheet all worked out and tested:
It was time to begin...
[To Be Continued...]
Tuesday, June 10, 2014
Disappointing Progress
I have been swamped with work and spring chores this year. We got the greenhouse up which took a few weeks but its done.
Finished Greenhouse |
I still need to pick up the fittings to trim out the ventilation holes. I had really hoped the QMaster Senior was going to be available, but I contacted woodpelletsmoker and he said the Sr. is delayed until early July. That puts it out of the running for this year. I may just have to do it the old fashioned way with valves to regulate airflow (and subsequently temperature).
I do need to do a burn-in on my barrels. It's been so dry lately I'm afraid of starting up a big fire. I've decided that the lined drums should be fine. If its so much work to get the liner off; how much flavor could the liner impart?
Pressure is on though. Family gathering at French Lake on 6/21 and they're all expecting something smoked. I had planned to do a pork butt overnight Friday but the UDS might not be ready by then. I'd hate to pull some of last years fare out of the freezer and dump BBQ sauce on it but that may be what happens.
Saturday, April 19, 2014
Wednesday, April 9, 2014
Kasson Festival in the Park Cook-off 2013 pt. 1
Thought I'd post a couple pictures from last years competition. It was my first competitive cook-off. I took 2nd place for my ribs.
I was surprised when I picked up my meat from Erdman's Country Market. I just expected to pick up some ribs. Jon Christensen (Meat Manager) handed me this huge package of meat! So for this competition, I smoked:
- St Louis Style Pork Spare Ribs
- Chicken Thighs
- Pork Butt
I'll post some details about the competition later. For now I wanted to get these pix up.
Tuesday, April 8, 2014
Plan for Weather
I've been looking for competitions in Southestern Minnesota that I might like to participate in. There are a few advertised and I'm sure there are a few others that I'll find along the way.
I was really lucky last year for the Festival in the Park Cook-Off in that it didn't rain. Knowing I wanted my Boston Butt to cook >12 hours, I started around midnight for a 2pm turn-in. But that is a topic for another story.
My point to make here is I came pretty prepared for anything to my first competition; bringing a popup cover (like an E-Z UP) and a tent. If it rains, my smoker doesn't do well with water running down the lid and down the inside of my smoker cooling the metal and internal temperatures. So in the event of rain, I planned to move the smoker under my popup.
Looking to up-my-game this year, I've been thinking about adding some other competitions to my curriculum vitae. So I started looking at alternative shelter with a VENT in the top.
...which led me to this:
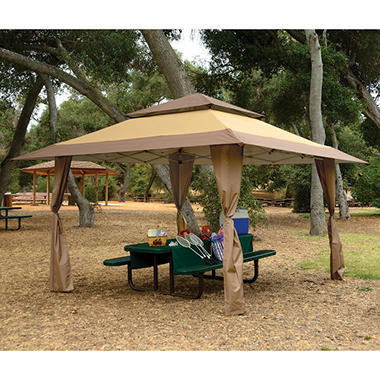
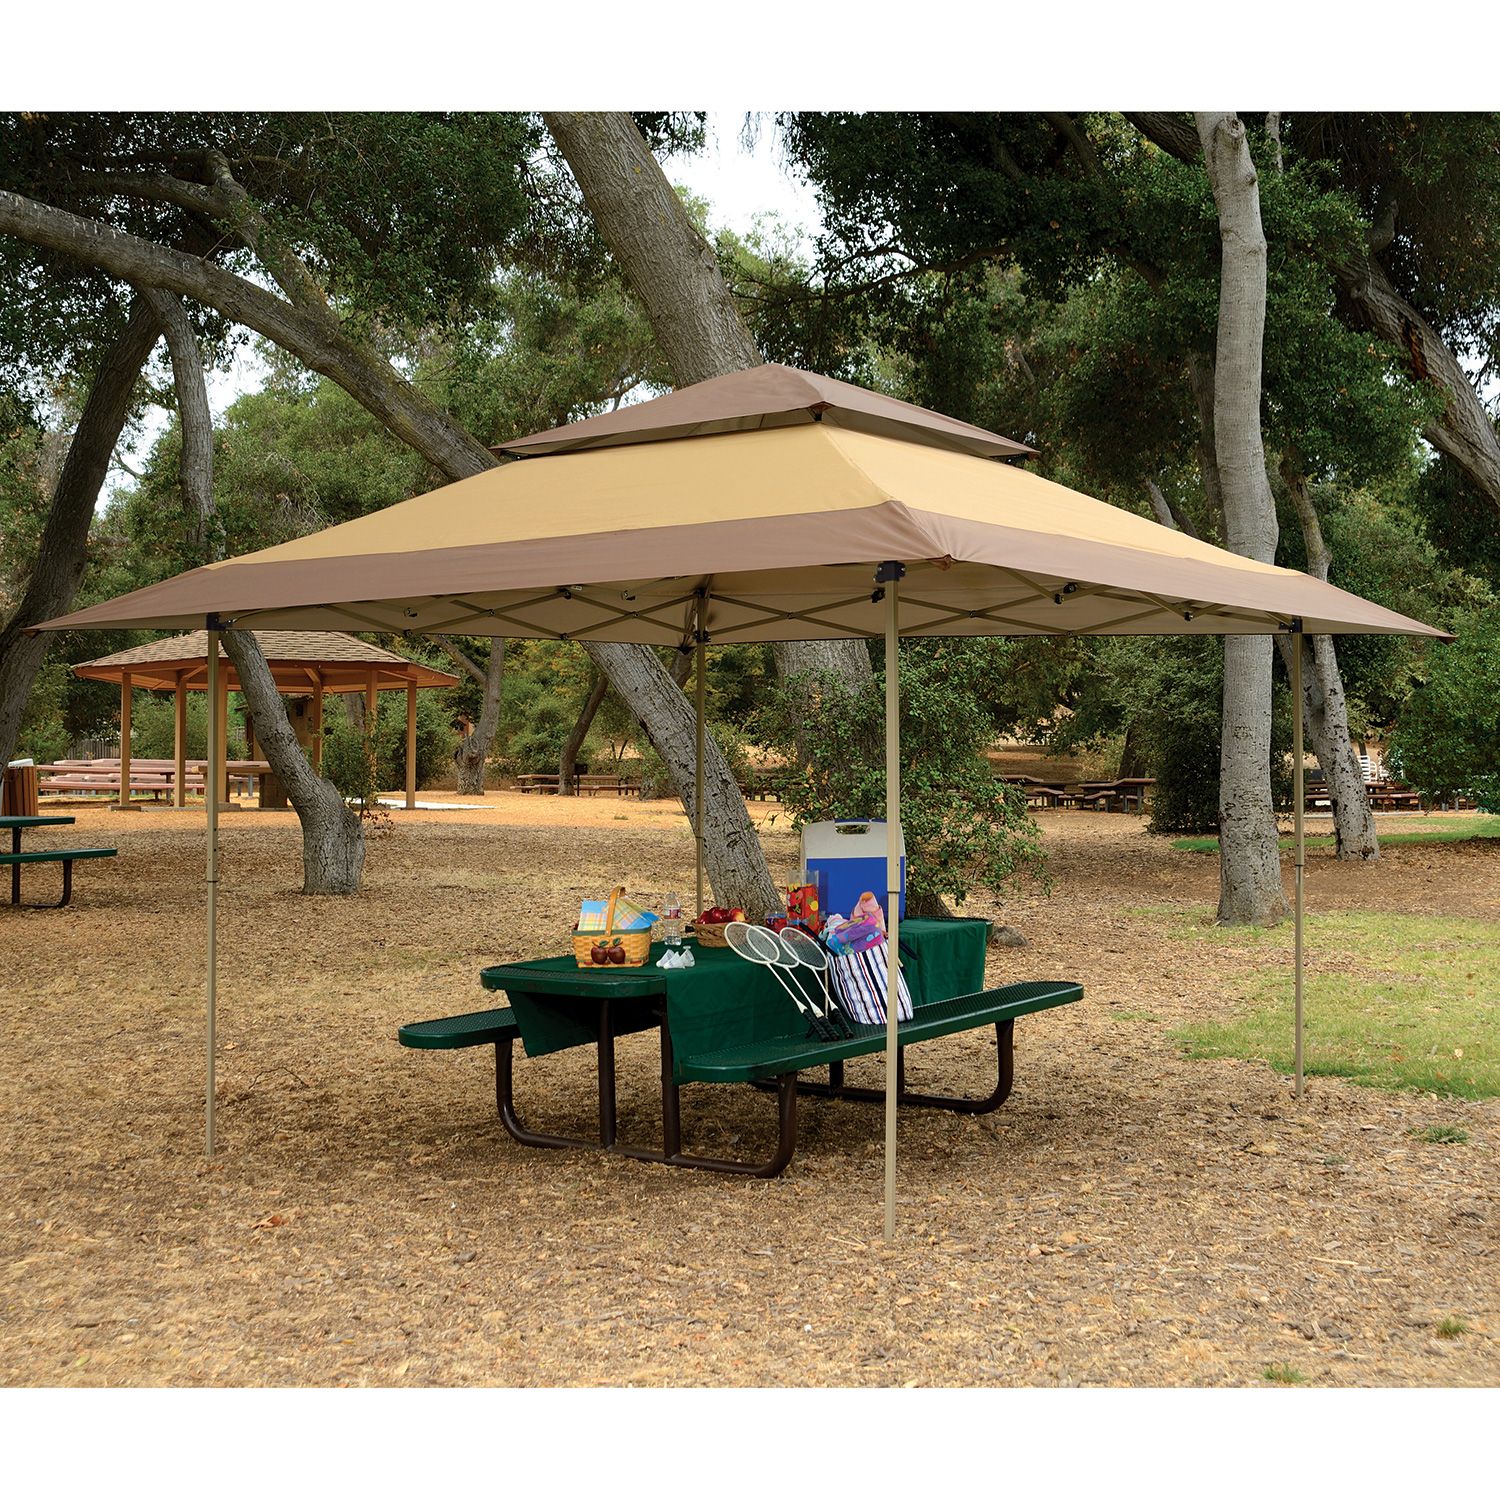
Available from SamsClub, it looks like a pretty nice product. A respectable size of 13x13' and most importantly, that necessary 'chimney' in the center of the gazebo. At first I thought the sides could close, but I see those are decorative pieces to hide the metal leg supports.
I was really lucky last year for the Festival in the Park Cook-Off in that it didn't rain. Knowing I wanted my Boston Butt to cook >12 hours, I started around midnight for a 2pm turn-in. But that is a topic for another story.
My point to make here is I came pretty prepared for anything to my first competition; bringing a popup cover (like an E-Z UP) and a tent. If it rains, my smoker doesn't do well with water running down the lid and down the inside of my smoker cooling the metal and internal temperatures. So in the event of rain, I planned to move the smoker under my popup.
Looking to up-my-game this year, I've been thinking about adding some other competitions to my curriculum vitae. So I started looking at alternative shelter with a VENT in the top.
...which led me to this:
Z-Shade Instant Gazebo - 13' x 13' $130
Available from SamsClub, it looks like a pretty nice product. A respectable size of 13x13' and most importantly, that necessary 'chimney' in the center of the gazebo. At first I thought the sides could close, but I see those are decorative pieces to hide the metal leg supports.
Electronics
Throwing K.I.S.S. to the wind, I've found some interesting geek-toys for smoking.
A less expensive, less complicated solution with 1 probe for pit and one probe for meat.
For CyberQ or DigiQ a blower is needed. Looks like the Pit Viper (10 CFM FAN) $72 is the beast to use.
Of particular interest is the replacement fan can be purchased for $15 on ebay. AD7512HX
Well, besides the IQ110 Kit $140. This is probably what I'll go with on the first build. Should be able to power it from a couple of 6V batteries (or a JumpStart)
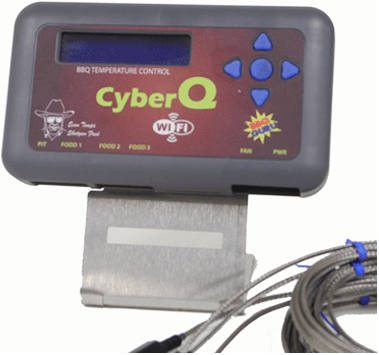
This product is kinda out-there. I can't find a homepage for the product which is a little troublesome. I did find some interesting videos describing the features on youtube here and here. Essentially, it has 3 temperature probes (2x meat, 1x pit) and a fan controller port. Based on how you've programmed it, the fan turns on or off depending on temperature of the pit. A basic temperature controlled fan controller with some wifi bells and whistles.
Additional software available by a developer group at wedonet.net. Nice information recording including historic graphs:
DigiQ DX2 $185
Wired temperature probe
http://store.thebbqguru.com/weborderentry/DigiQ%20DX2
A less expensive, less complicated solution with 1 probe for pit and one probe for meat.
Pit Viper Blower $72
Blower kit for CyberQ/DigiQ
http://store.thebbqguru.com/weborderentry/Pit%20Viper%20%2810%20CFM%20Fan%29
For CyberQ or DigiQ a blower is needed. Looks like the Pit Viper (10 CFM FAN) $72 is the beast to use.
Of particular interest is the replacement fan can be purchased for $15 on ebay. AD7512HX
PitmasterIQ IQ120 Kit $200
Wired temperature driven fan controller (with built in fan @ 5-15CFM)
This one has a lot fewer bells and whistles, but its simplified design is appealing. Probably the best (and least expensive) compromise between manual and automated airflow control.
Well, besides the IQ110 Kit $140. This is probably what I'll go with on the first build. Should be able to power it from a couple of 6V batteries (or a JumpStart)
QMaster-Senior $138
This is an interesting one. It's clearly made in China, but the guy is soliciting on bbq-brethren.com and not getting slammed for being a spammer. Sounds like its still a little buggy, but the guy (inventor) seems sincere.
For $138 plus $20 shipping, it includes the controller which has 4 programmable temp stages, variable blower control, pit and meat temperature monitoring and the blower with adapter! The adapter has a shutter inside that closes when the fan is off.
There are some options available. For $10 more you can get a 50 CFM fan (adjustable from 5-50 CFM)
There are 9 left on ebay... Really tempted to pull the trigger.
Subscribe to:
Posts (Atom)